UNDER CONSTRUCTION
Proxmox

I chose Proxmox as my hypervisor. Mostly because I’ve heard a lot about it in various forums and podcasts. I figured it was well supported. It is also based on Debian which I am most familiar with.
Installation
The installation of Proxmox is pretty straightforward if you’re familiar with flashing an booting a USB. The ISO and more information can all be found on the Proxmox website. Other than mentioning and linking BalenaEtcher, I don’t see a need to dive into the process of creating the bootable USB.
Once the bootable USB is ready, I plugged it into my host and set the BIOS to boot from USB.
My machine has secure boot enabled by default in the BIOS. I believe a lot of modern Windows destined machines do too. This needs to be disabled prior to proceeding.

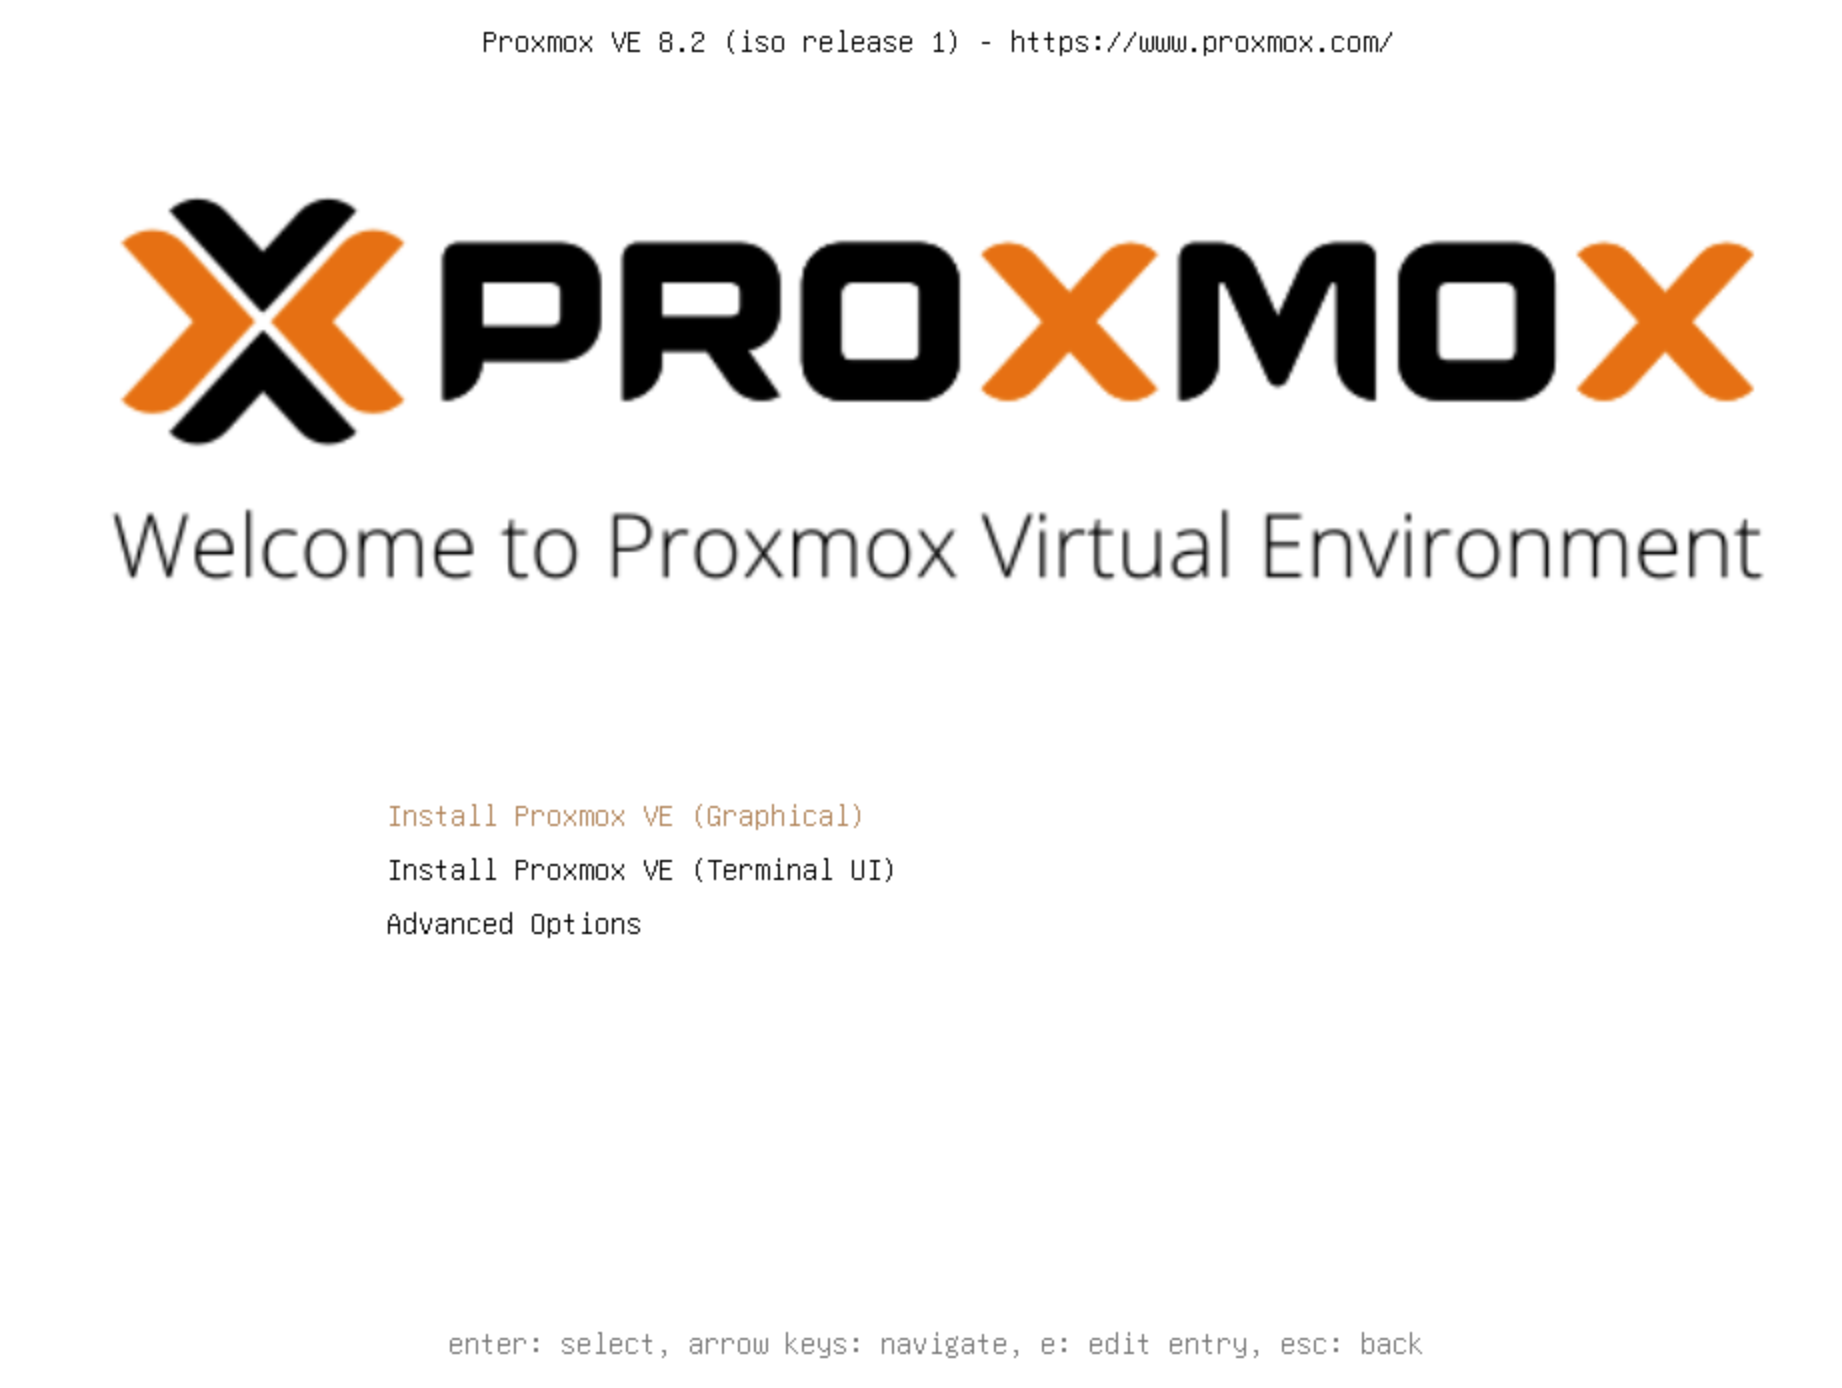
After the machine successfully boots from the installation media, the Proxmox installation menu will appear. It includes options for the graphical or CLI installer. I personally prefer the CLI installer as I’m always working on improving my terminal skills.
Most of the installation prompts are straightforward. They include selecting the installation hard drive and locale settings. Along with setting an admin/root password and initializing some network settings.
Regarding the network settings, a wired connection is strongly preferred. It’s a server system after all. The hostname must be given as a fully qualified domain name (FQDN). In my case that is
PVELab.mydomain.com. The static IP is also set at this stage using classless inter-domain routing (CIDR) notation. This means the IP address must be specified end in/24. For example192.168.1.4/24.
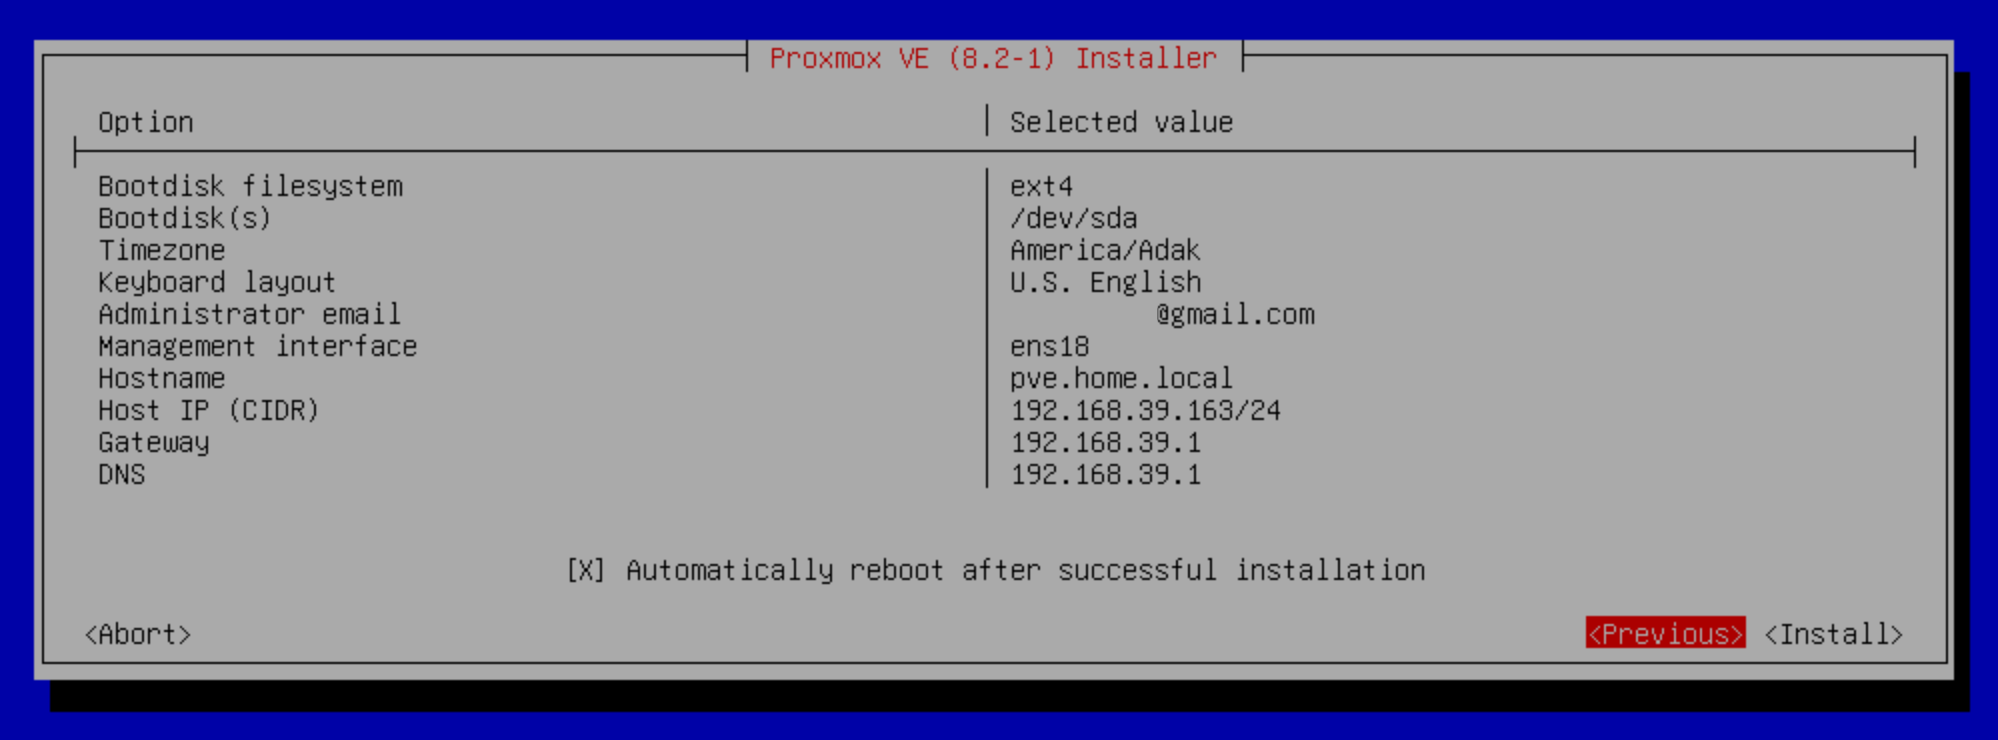
Prior to installing, Proxmox will summarize the selected settings.

If you’re satisfied, hit install and grab a beer or two while you wait.
Configuration
Once the host boots into the freshly installed Proxmox system, it will display the LAN IP and port it can be accessed from. It can also be directly accessed from the host at a CLI level. The login user is root and the password was what we set during the initial installation.
Logging into the GUI will display a subscription notice. It can be safely ignored unless you want to subscribe to a $500+/year plan which I think is a no for most home labbers.
The Proxmox VE Post Install Script can be used to remove the subscription nag and quickly make a few other recommended systems changes. However, I suggest reviewing the source code prior to running both as good security practice and to get a better understanding of what it is doing.
Start clicking around in the UI. Learn where things are and what some things do.
Security
Before moving much further it is important to talk about securing the Proxmox instance. The depth of security its user and deployment specific but some of the best practices include liming access to the Web UI, protecting SSH access, two factor authentication, and limiting root access. Don’t forget using a strong password. Depending on the set up, some of this is better done on the networking side of the house and some better on the host.
In my home lab, the physical host is secured in a network cabinet. SSH access requires key authentication and the Web UI requires TFA. I’m in process of implementing additional firewall rules on my router to further isolate the Proxmox host.
Two Factor Authentication
TFA for the GUI is supported out of the box. Simply log into the Web UI with an admin account and from the Datacenter tab, select Two Factor followed by Add > TOTP. This will open the time-based one time password configuration tool. A user can be selected, a QR code will be generated, then it can be scanned with an authenticator app. Personally, I use Authy.

Several other TFA methods are also supported but TOTP its simple and easy for the home lab.
SSH Key Authentication
By default, the Proxmox host can be accessed via SSH just the user name and password. The first step is to generate and SSH key pair on the client machine, the machine used to access the Proxmox host.
ssh-keygen
Be mindful of overwriting existing keys if they are actively used. I like to name my keys based on the systems they are used to access.
Follow the prompts in the tool to name and password protect the key if desired.
Next, copy the key over to the Proxmox host. If using the default keygen settings, no additional arguments are required. Be sure to sub in the correct username and IP address.
ssh-copy-id root@192.168.1.4
Input the password to copy over the key. Try and SSH into the host. If you’re in without having to enter a password, the key took.
In the event the key is not using the default name, the
-iflag along with the key path must be used to copy the key and SSH into the host.ssh-copy-id -i ~/.ssh/MyKeyName root@192.168.1.4 ssh -i ~/.ssh/MyKeyName root@192.168.1.4
The final step is to disable password SSH access entirely.
Disabling password SSH without a working key will lock you out of SSH. Fortunately, this can be fixed using the GUI or locally.
Create a new rule in the /etc/ssh/sshd_config.d directory.
nano /etc/ssh/sshd_config.d/disable_password.conf
Add the following line to disable password logins for all users:
PasswordAuthentication no
Or to only allow root to log in with an SSH key use:
PermitRootLogin prohibit-password
A Permission Denied error should now appear anytime attempts are made to access the host with a password only.
Running CTs and VMs
The easiest way to get a VM or CT up and running is with on of TTeck’s Proxmox VE Helper-Scripts as it basically does everything for you. I would be lying if I said I haven’t used them myself. I suggest trying to spin up a basic Debian CT using a template and Debian VM using a downloaded ISO to get the hang of things first.
CTs
Lets start with CTs. Coming from Docker, these were somewhat familiar. Although not an exact analogy, think of a CT like a Docker container. It shares the host kernel but has its own dependencies.
To start up a CT, first a template is needed. My Proxmox system is pretty simple. It uses LVM installed on a single drive and its the same drive I intend to use for my virtualization and ISO storage.
I don’t really understand filesystems in general yet. Let alone how they integrate with Proxmox.
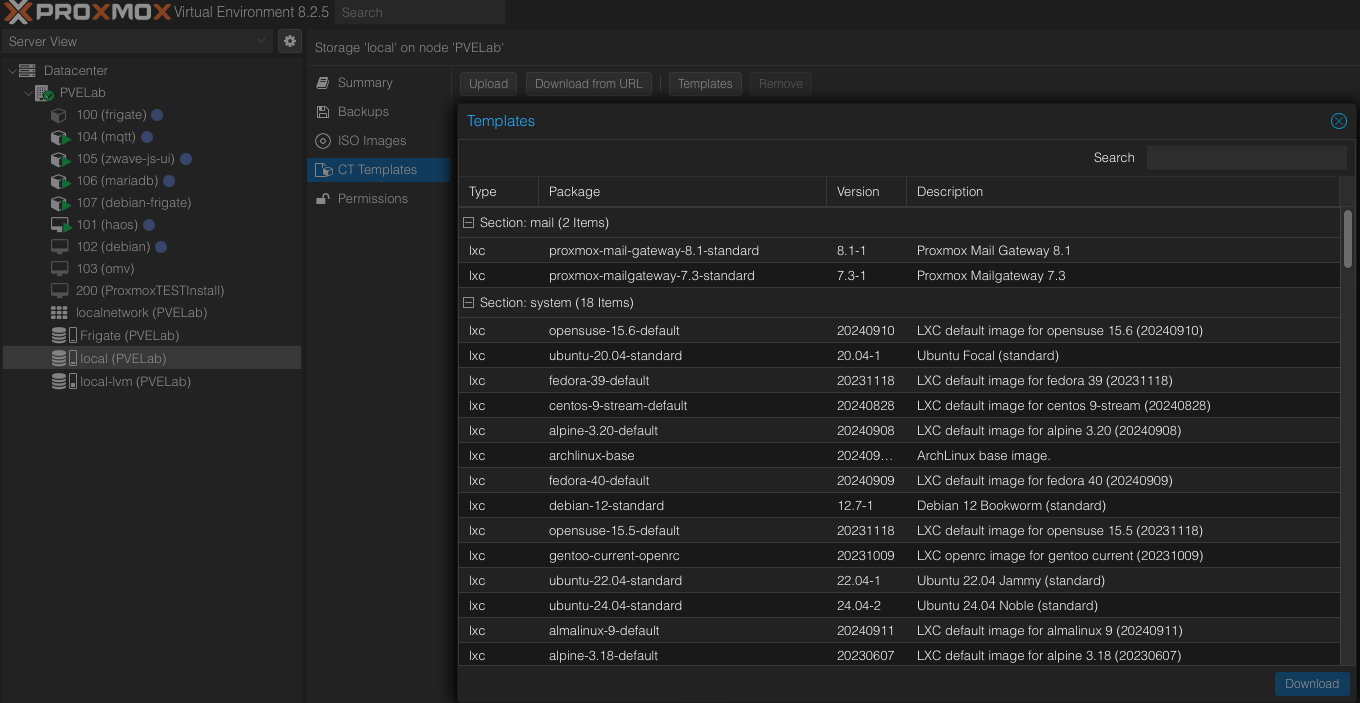
To download a CT template, navigate to local storage, select CT Templates and click Templates.

Choose a template to download. I started with Debian 12.
Once the template is downloaded, it is as simple as clicking the Create CT button and filling out the creation wizard. Just be mindful of the CPU, memory, and storage allocated to the container. I’m not sure what happens when you exceed the system but I don’t intend to find out. I usually use somewhere between the minimum and middle road of the system requirements for the application I’m using.
In order for devices and storage to be seen by the CT, they must be passed to it. I will cover this along with some other CT options on a case by case basis as I discuss the CTs I’m running.
VMs
Unlike CTs, VMs or virtual machines virtualize everything. It’s basically a computer inside a computer. VMs require an image to run. These images must be downloaded onto the Proxmox host via the local storage ISO Images section. They can be downloaded directly from the source using the Download from URL option or uploaded from the client machine with the Upload option.
Clicking the Create VM button opens the VM wizard which is very similar creating a new CT.