DIY NAS
Table of contents
I’ve put off setting up a NAS for awhile. Right now I use iCloud for some data storage along with an external Time Machine drive. I also have/had and external drive taped to my server that acts as a single drive NAS of sorts running off an Open Media Vault VM. All good homelabbers have a NAS so I should too. Plus I want to be able to self host most of my storage, have redundancy, and reliability as I add more services.
I don’t have a lot of media to store other than photos. I’m not a Plex or Jellyfin user so I don’t need massive amounts of storage. I do however want a bulletproof solution that won’t fail randomly or due to some other tinkering. That leads me to a dedicated NAS device.
NAS Hardware

I recently listened to Self-Hosted podcast Episode 115: A NAS in Every Home with guest Brian Moses talking about his NAS builds. I explored Brian’s blog and settled on my version of his 2023 EconoNAS.
My goal, as previously mentioned, was to build a bulletproof dedicated NAS. The system should be more than powerful enough. In fact, I can probably use it to replace my current Home Lab and then some. I just don’t like the idea of virtualizing my NAS and having those extra failure points to access my data.
When sourcing components, I planned on running OpenMediaVault for the OS and at least Frigate as a Docker container.
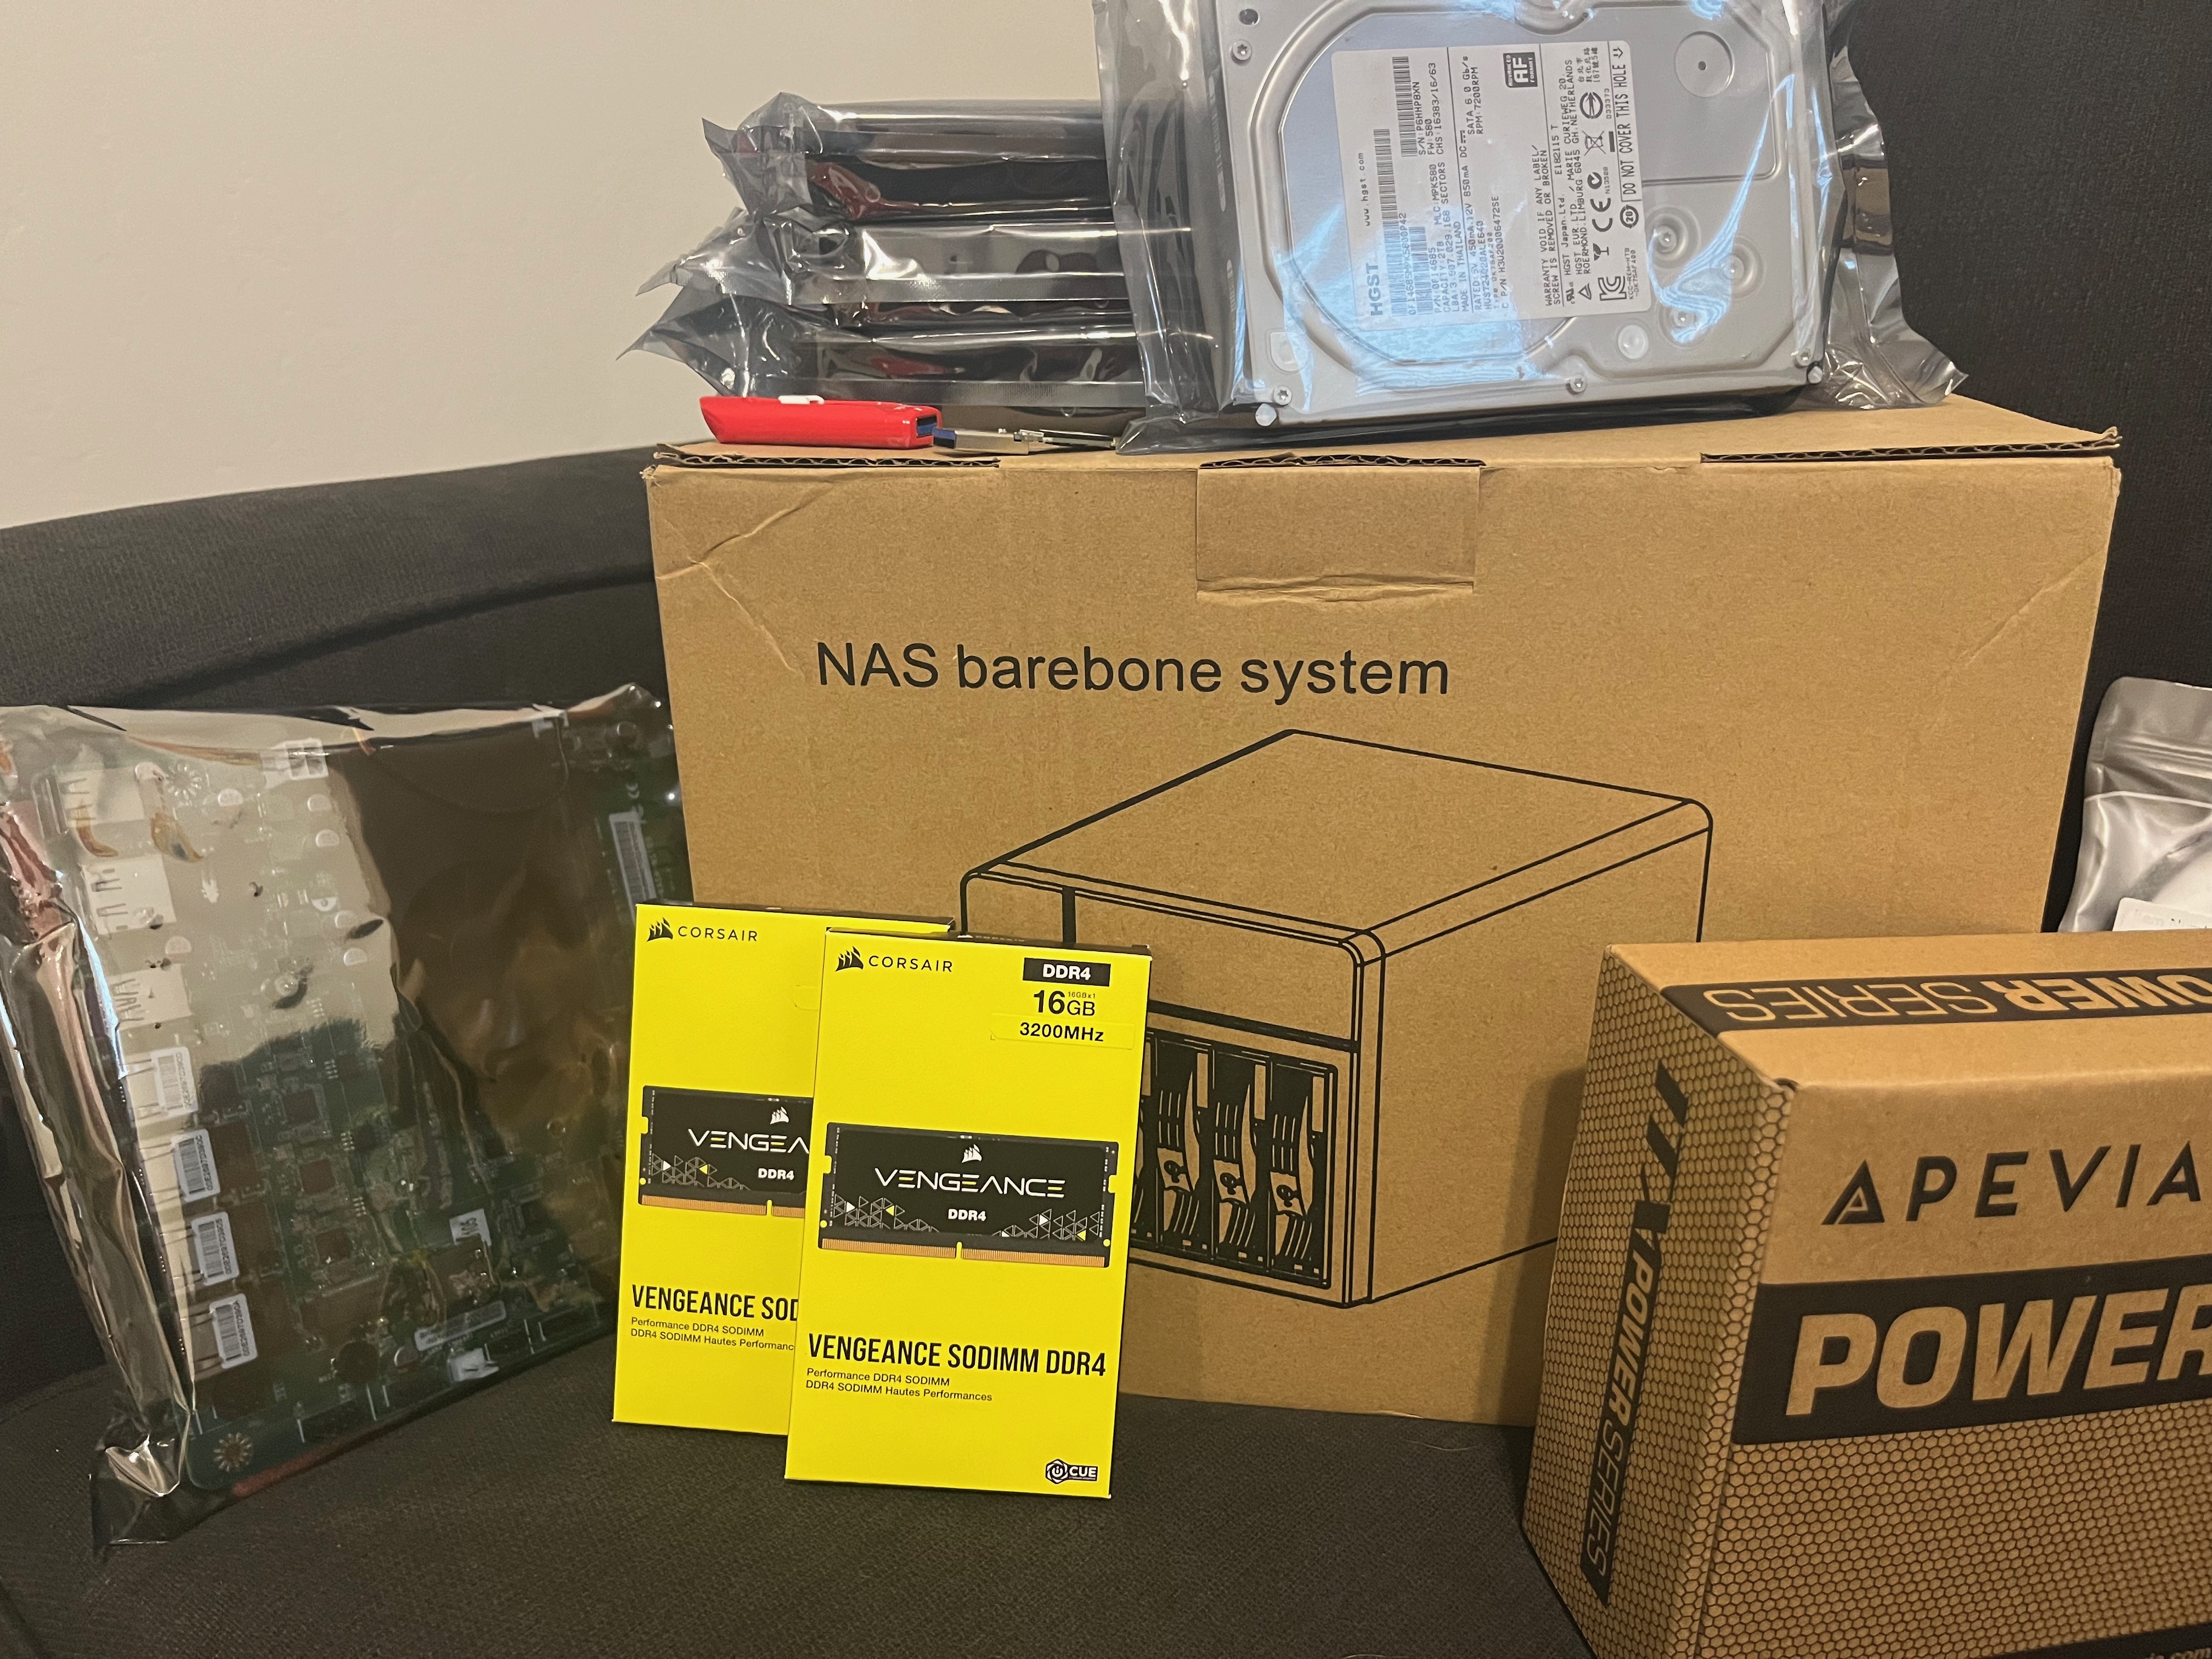
I chose to build my NAS with the following components:

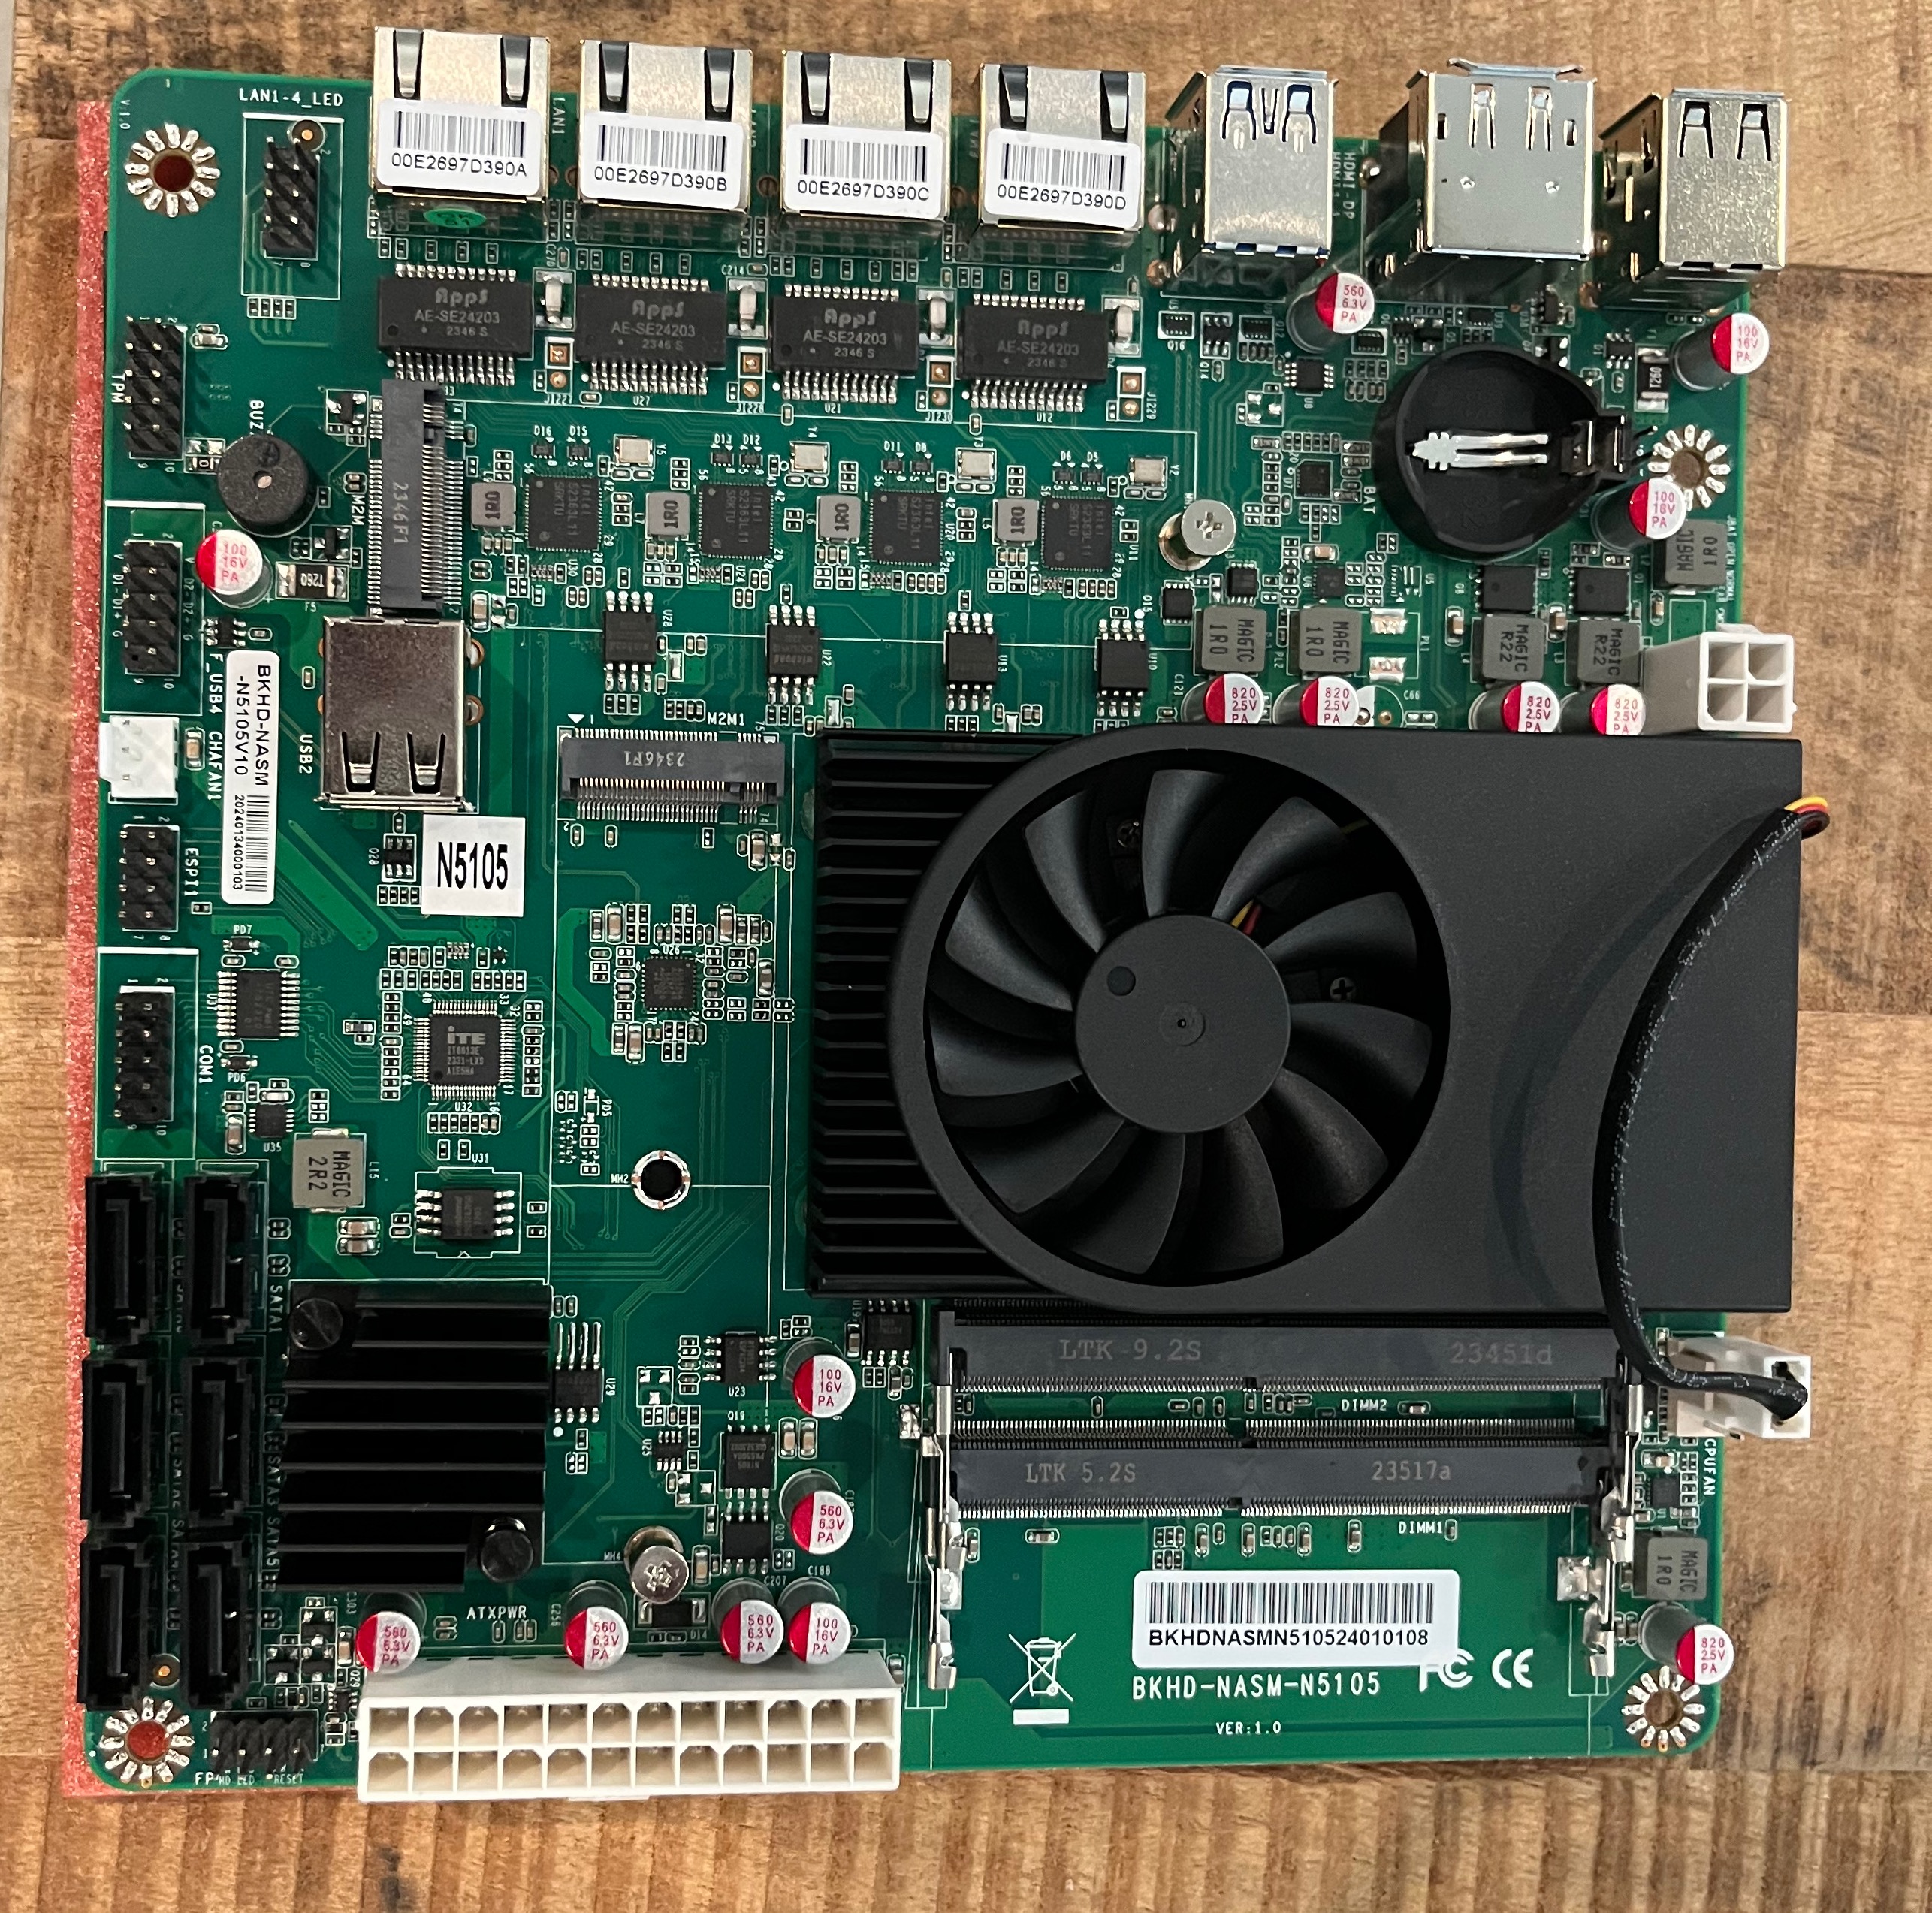
- Topton N3 N5105 Motherboard
- This is the same board in the EconoNAS build. I found mine from a no name seller on AliExpress at a steep discount. Everything seems to check out so far.
- Cost: About $100 on AliExpress
- AUDHEID K3 Case
- The same case from the EconoNAS build. I saw the pictures and knew I had to have it. I love the look of the hot swap drive bays. The included fan was a loud so I swapped it for a Noctua NF-S12A.
- Cost: $80 on Amazon + $25 for the fan
- Apevia ITX-AP300W PSU
- More or less the same PSU from the EconoNAS build. It looks like there have been a few version changes since the original writing.
- Cost: $36 on Amazon
- 32GB (2x 16GB) Corsair Vengeance 3200MHz DDR4 SODIMM RAM
- I doubled up on the RAM from the EconoNAS build just so I had room to grow. I also found what seemed to be a good deal on some decent sticks.
- Cost: About $50 on Amazon
- 256GB (2x 128GB) Patriot P320 M.2 NVMe SSD
- I grabbed these to fill the two NVMe slots on the motherboard. Originally I planned to mirror/stripe them and use them as a boot drive. Now I’m thinking I’ll boot from USB and run these as application storage drives.
- Cost: $32 for both on eBay
- 64GB SanDisk USB Drive (2x)
- I’ve got a bunch of these laying around. After some research, I’ll use one as my OS boot drive and keep the other as a backup/spare OS drive.
- Cost: I already had these on hand so $FREE.99.
- 8TB (4x 2TB) Western Digital HGST Ultrastar Hard Drives
- I’m pretty sure 2TB usable storage will be more than enough for me on the data side. I was playing around with various RAIDZ configurations and I think I’ve settled on RAIDZ2 with all 4 drives. My understanding is that gives me 4TB usable storage and 2 drive redundancy. I can also explore adding additional drives with the 2 free SATA ports. Unfortunately one of them was DoA but a replacement is en route.
- Cost: $30/ea refurbished on Amazon
In total, this build ran me about $450.
Build
The build was pretty simple for anyone that’s assembled computers before. The biggest things of note are the tight quarters in the AUDHEID K3 case and some of the tolerances.
PSU
Check the voltage switch on the PSU is set to the correct contry voltage prior to mounting.
I installed the PSU first. It was easier to remove the rear mount from the case and install that to the PSU then screw the PSU in place. The fan and plug mated up to the case just fine but some of the screw holes needed a little persuasion to line up. Plus the provided screws didn’t seem to have the correct thread pattern.
I routed one of the 4 pin Molex power cables down the hard drive cage side to power the backplane and zip tied the cable in place. This kept it out of the way.
The PSU also has a 8 pin P8 connector than can be split. I split out the needed 4 pin ATX power along with the 24 pin power connector to be routed to the motherboard. The remaining wires will be unused to I zip tied and coiled them in the top of the case out of the way.
Motherboard

The I/O shield popped right in place on the inside of the case. Just make sure it’s installed in the correct orientation.
Due to the tight quarters, its much easier to connect install all components and connect all cables prior to mounting the motherboard.
A CR2032 battery was not included with my board. The installation of the battery, RAM, and NVMe drives was pretty standard. I also plugged my USB boot drive into one of the internal USB ports.
The internal USB ports appear only to be USB 2.0.
The PSU plugs are all keyed and can only be inserted one way. Just make sure the wires are routed underneath the upper crossbar.
I labeled all of the SATA cables prior to plugging them in just to make identification easier.
Finally, I plugged in the front I/O cables. The USB wire is pinned to match up with the USB header on the motherboard. The power/reset cable is 6 pins crimped to an 8 pin connector and connects to a 6 pin pwr rst header. The blank side should hang over near the PSU connector, not over the screw hole on the motherboard.
Mounting the Motherboard
This part requires some patience and finesse. First make sure all of the cables are connected and routed under the upper crossbar. Any extra PSU or other cables should be tucked out of the way.
Gently slide the motherboard in place so it lines up with the I/O shield and mounting standoffs. Be careful not to damage any components on the board. Unfortunately, the SATA cables will push right up against that upper crossbar. There is a small cutout to minimize this but some electrical tape in the area is not a bad idea to reduce damage. As I lined up each standoff, I loosely inserted the screws. Once all were in place, I double checked alignment and tightened everything down.
The case also included a plastic shield for the back of the motherboard. I applied this using the provided adhesive to prevent any shorts.
Storage Drives

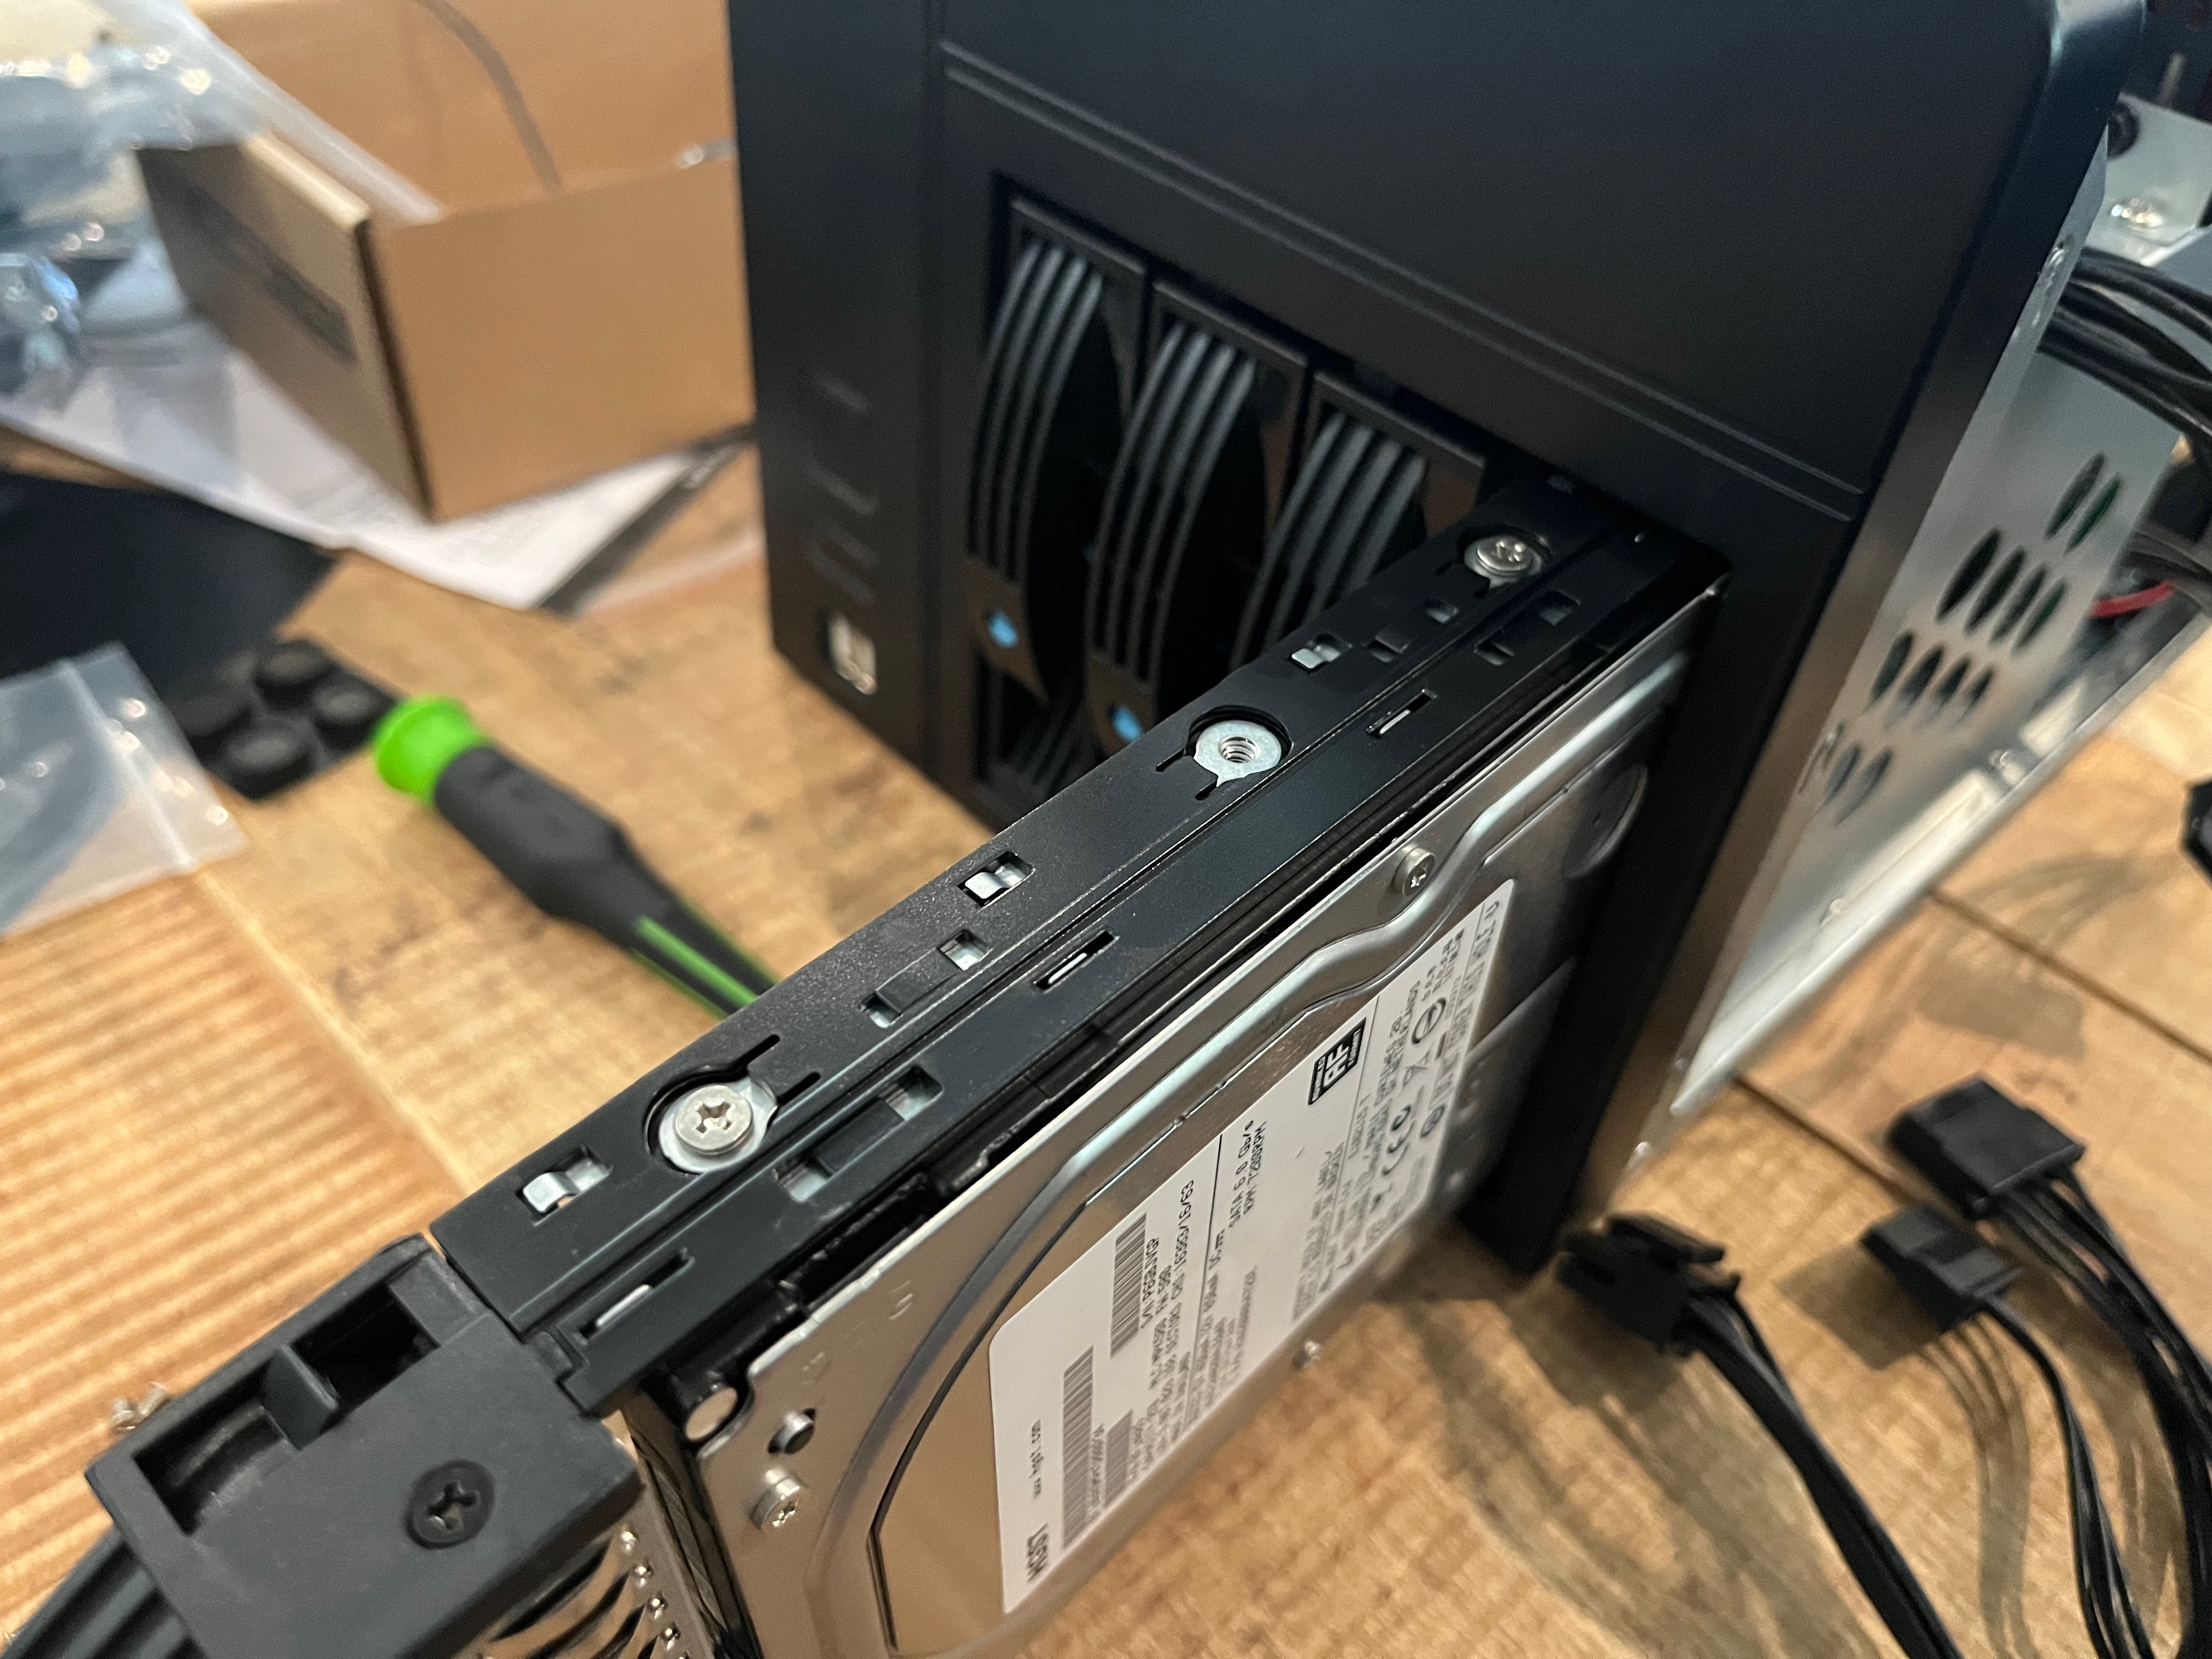
I used the provided screws to mount my hard drives in the caddies. I don’t think much more detail is required here.
Final Assembly
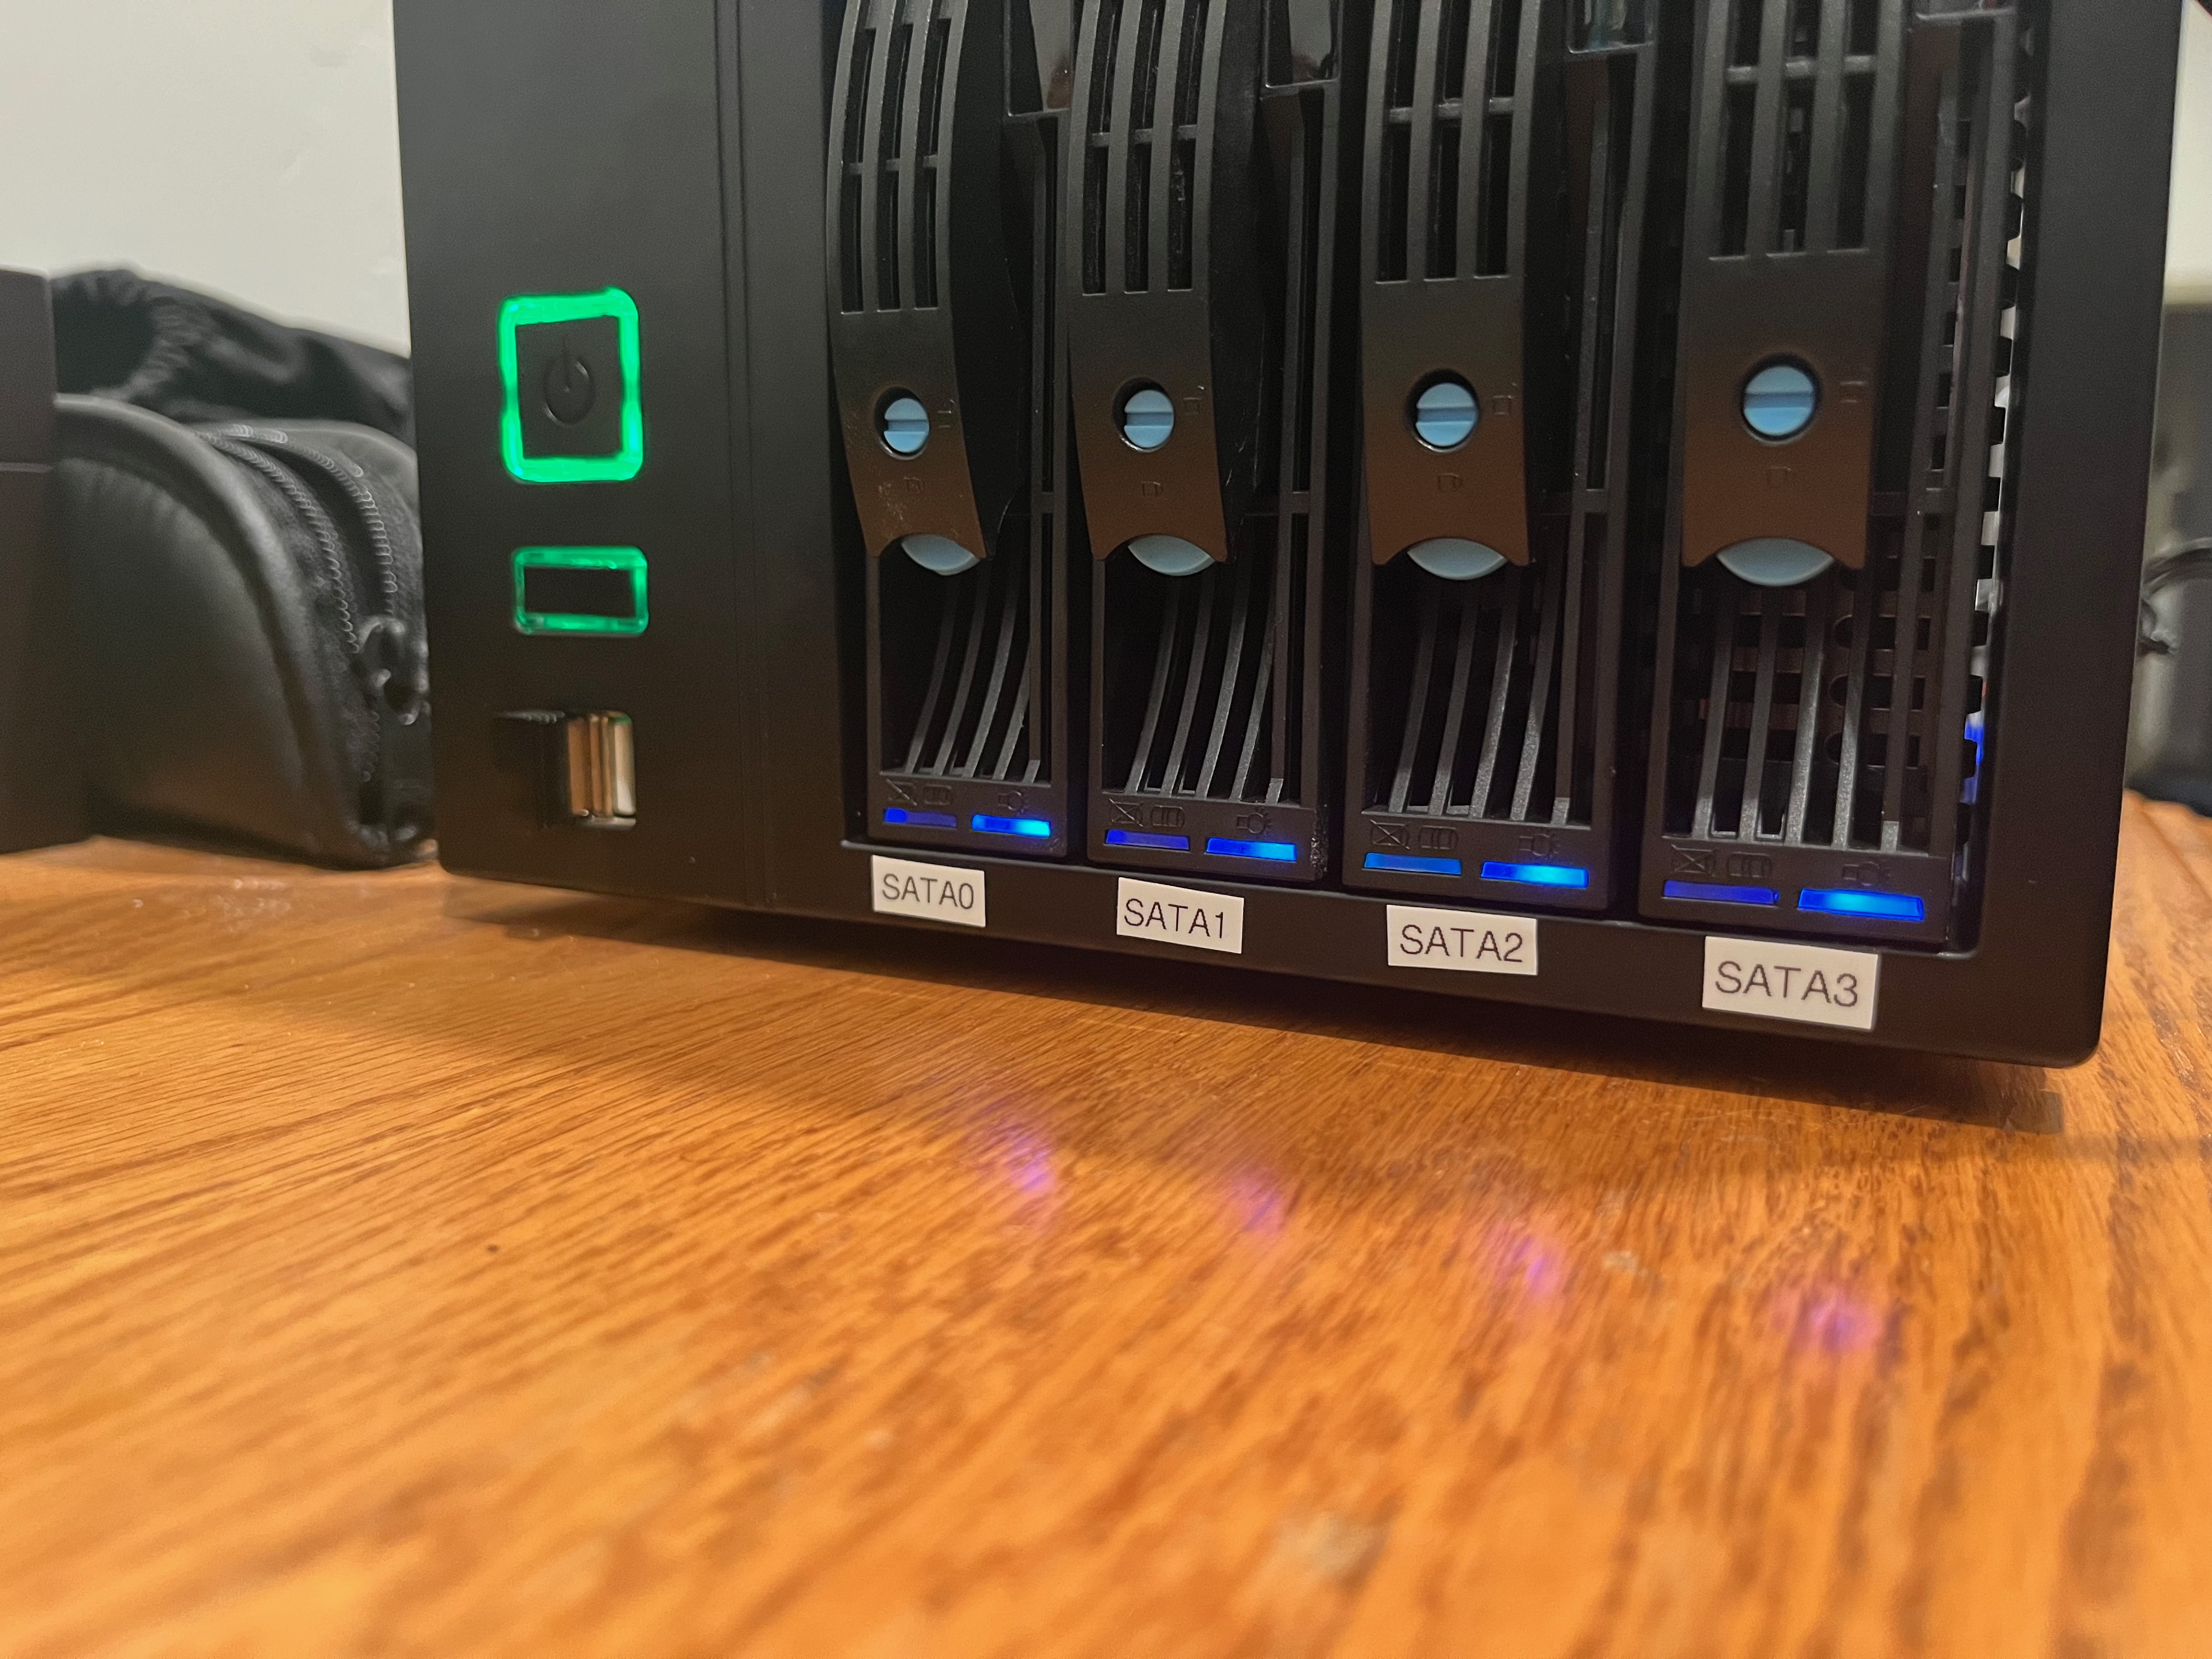
After getting everything mounted and installed. I did one final check to make sure all the cables were routed, connected, and secured. It’s also a good idea to power everything up before putting the lid on. Once its good to go, the lid just slips on the case and is screwed in place.
Thoughts
I’m pretty excited to get this thing up and running. I like the look of the case and the overall size. The included fan is a little loud for 24/7 operation so I will probably swap that out at one point. I didn’t feel it was too small to get things installed in the case my biggest gripe is the placement of that upper crossbar and its proximity to the SATA cables. Otherwise, you get what you pay for. It was a cheap case and it sometimes feels like a cheap case when working in it.
